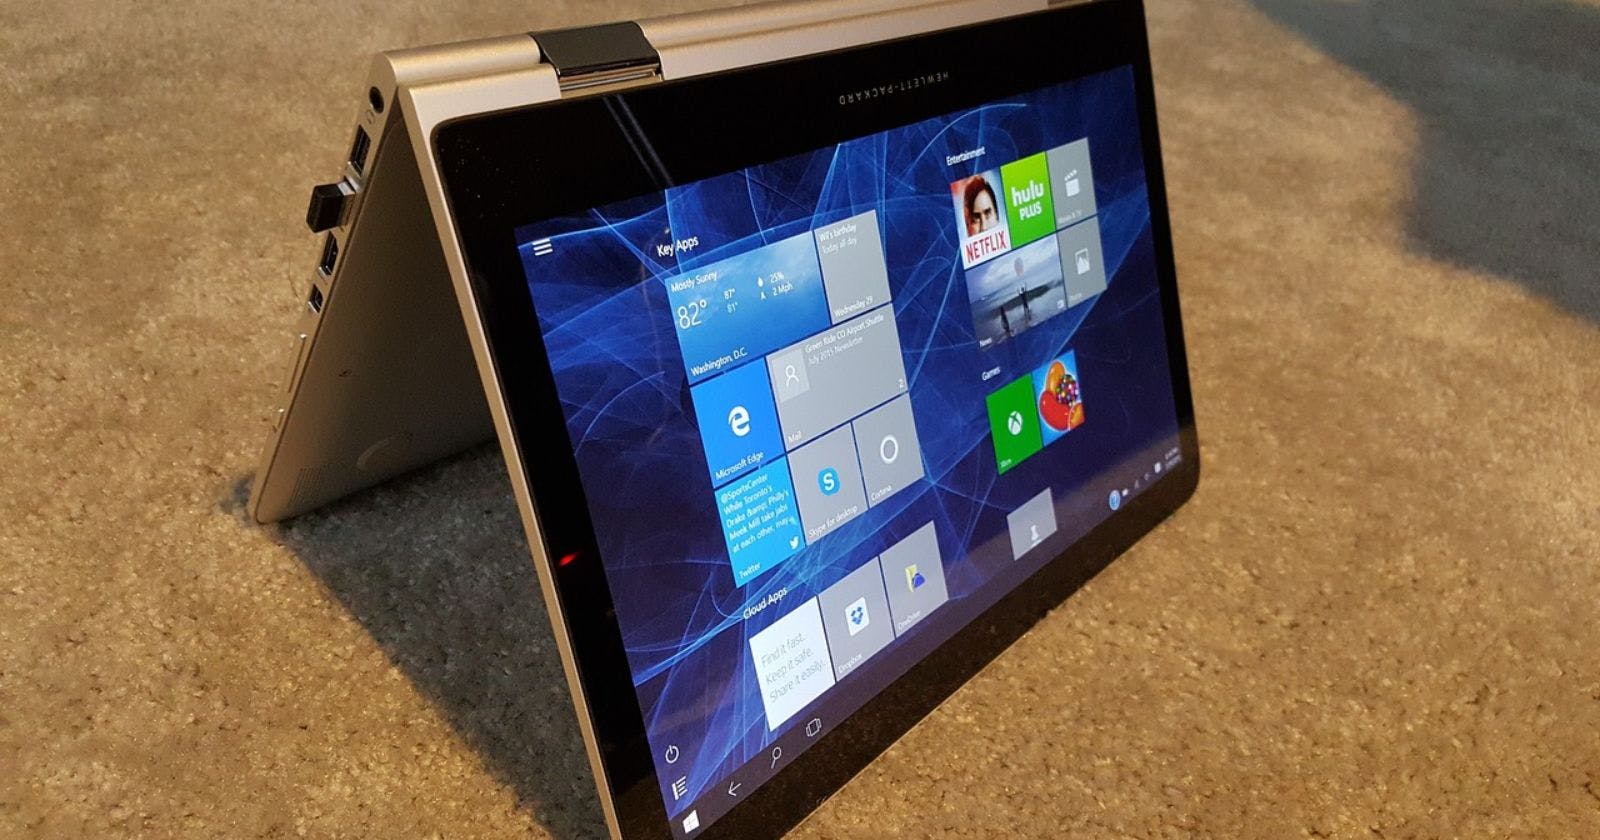
Running Windows applications and tools on Linux can be challenging due to compatibility issues. Setting up a Windows virtual machine provides a convenient solution without dual booting or partitioning disks.
The Kernel-based Virtual Machine (KVM) is a popular hypervisor built into the Linux kernel. It allows creating and running virtual machines that act as separate computers. Installing Windows as a guest VM on Linux is straightforward with KVM.
In this guide, we will cover step-by-step instructions for installing Windows 10 as a KVM virtual machine on Linux.
Prerequisites for KVM Virtualization
Before creating a Windows VM, verify the following on your Linux system:
Processor support - The CPU must have virtualization capabilities like Intel VT-x or AMD-V.
Enabled virtualization - Virtualization must be enabled in BIOS settings.
KVM packages - QEMU, libvirt and other KVM components should be installed.
User permissions - Your user account should be added to the
kvmandlibvirtgroups.
Check CPU virtualization support by running:
egrep -c '(vmx|svm)' /proc/cpuinfo
If the output is greater than 0, virtualization is supported.
The KVM packages can be installed from the distribution's repository:
# Debian/Ubuntu
sudo apt install qemu-kvm libvirt-daemon-system libvirt-clients bridge-utils virt-manager

# Fedora/CentOS
sudo dnf install @virtualization libvirt virt-install virt-viewer

# Arch Linux
sudo pacman -S qemu libvirt virt-manager bridge-utils
Finally, add your user to the groups with:
sudo usermod -aG kvm $(whoami)
sudo usermod -aG libvirt $(whoami)
Log out and log back in for changes to take effect.
Downloading Windows 10 ISO
The Windows 10 installation media can be freely downloaded as an ISO image from Microsoft's website.
Navigate to https://www.microsoft.com/en-us/software-download/windows10 in your browser.
Under "Select edition", choose Windows 10 (multi-edition ISO). Click Confirm.
Select the desired language and hit Continue.
Choose between the 64-bit and 32-bit ISOs. The 64-bit version is recommended for most users.
Finally, click Download to get the ISO image.
Creating a New KVM with Virt-Manager
The virt-manager graphical tool provides an easy way to create and manage KVM virtual machines.
Launch virt-manager either from the app menu or by running:
virt-manager
Click on the "Create a new virtual machine" button. This will start the New VM wizard.
Select "Local install media" and click Forward.
Click "Browse" and select the Windows 10 ISO file you downloaded earlier.
Adjust the RAM and CPU cores as per your requirements. 4 GB RAM and 2 cores is sufficient for most purposes.
Allocate at least 50 GB of disk space for the virtual disk image.
Specify a name for the VM and click Finish to complete creating the new KVM.
Installing Windows 10 on the Virtual Machine
The VM will boot straight into the Windows 10 installer from the ISO.
Select language, time format and keyboard input method on the first screen.
On the Install Now screen, enter your product key if you have one, else select "I don't have a product key" to continue.
Choose the desired Windows 10 edition and accept the license terms.
Select "Custom: Install Windows only" on the next screen. This will install Windows freshly on the virtual disk.
The Windows files will start copying over. The VM will restart multiple times during the installation process.
After the installation is complete, you will be taken through the initial Windows configuration like setting up Cortana, privacy options, account creation, etc.
Once you reach the desktop, Windows 10 is fully installed and ready to use inside the KVM virtual machine!
Tips for Improved Performance
To get maximum performance for your Windows VM:
Install the guest tools and agents inside Windows. This improves integration and allows folder sharing between host and guest.
Use paravirtualized drivers like VirtIO for disk and network. These drivers replace slower emulated devices.
Allocate sufficient CPU cores and RAM as per application requirements.
Use SSDs or high speed storage with caching enabled.
Enable nested virtualization if you want to run VMs inside the Windows VM.
Alternative Hypervisors for Windows VMs
Although KVM is integrated tightly with the Linux ecosystem, other desktop hypervisors like VirtualBox and VMware Workstation also work great for Windows virtual machines.
Some key advantages of alternatives:
VirtualBox - Simple interface ideal for beginners. Shared folders and guest tools support.
VMware - Advanced customization options. Snapshots and virtual networking. Commercial support available.
Hyper-V - Microsoft's hypervisor optimized for Windows. DirectX and graphics support.
So evaluate multiple options to determine the best hypervisor for your specific use case.
Conclusion
KVM provides an efficient means to set up Windows 10 within a virtual machine on Linux. The entire process from installation to configuration takes less than an hour.
Key takeaways:
Check processor virtualization capabilities before starting.
Download Windows 10 ISO image from Microsoft.
Create a new VM using virt-manager and select the ISO.
Allocate sufficient resources like RAM, CPU cores and disk space.
Step through the Windows 10 installation prompts inside the VM.
Install guest tools and optimize drivers for maximum performance.
Now you can comfortably use Windows applications, tools and games on Linux without dual booting or wine tricks. So virtualize away!

